Create and Send an Invoice
This guide will walk you through how to create and distribute professional invoices in your Gimbla account. Invoices usually create accounts receivable until the customer pays.
Creating an invoice in Gimbla is simple. You can fill out the necessary details and choose to send the invoice as a PDF attachment or as a secure web link that your customer can view online.
🧭 Navigate To
👣 Walkthrough
1 The first section of the invoice form covers Customer & Dates. Select the customer you are invoicing from the Bill To list (or add a new one). Review the Issue Date and select a Due Date for the payment. You can also add a Purchase Order number in the Reference field.
2 Next, fill in the Line Items. This is the main body of your invoice. Enter the Item Title, Description, Quantity, and Price. Ensure the correct Tax rate is selected. You can add multiple items by clicking the Add Line + button.

3 At the bottom of the form, utilize the Notes section to include your bank account details for direct deposit, specific project terms, or a personal thank-you message.

4 Once completed, you have a few options:
- Preview: See exactly what the customer will see.
- Create: Save the invoice to the system without sending.
- Create & Send: Click the dropdown arrow next to the "Create" button to save and open the email dialog immediately.
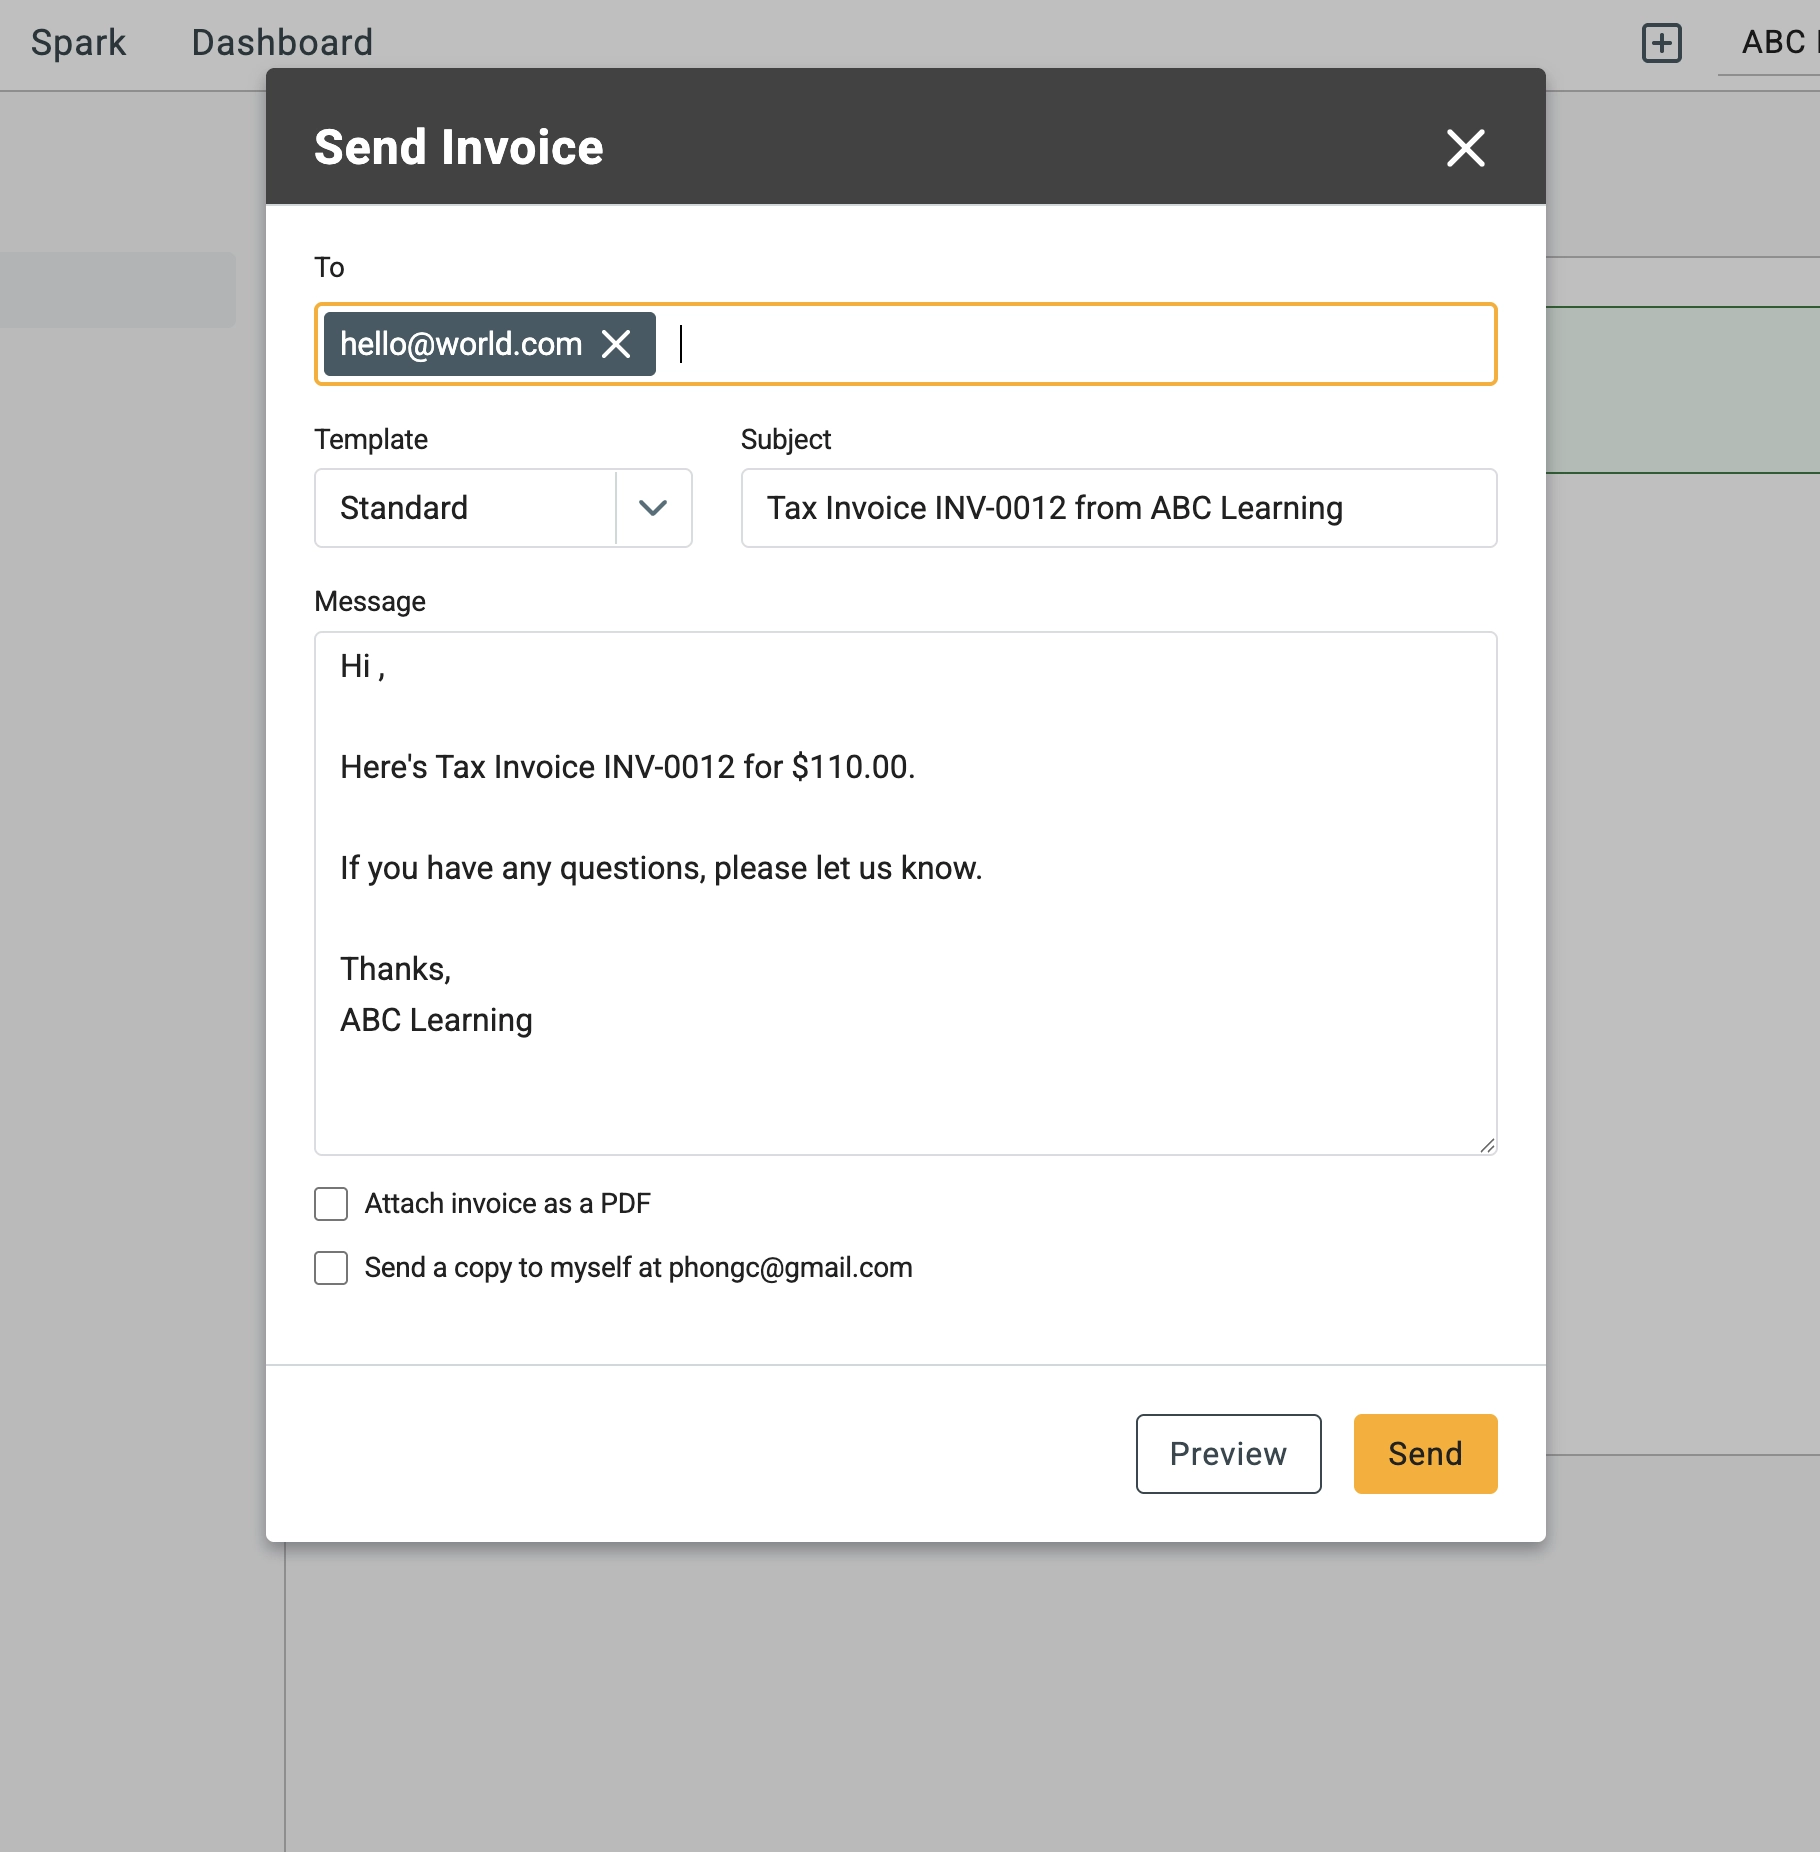
5 If you choose to send immediately, an email window will appear. Enter the recipient's email, subject line, and a personal message. You can also tick the box to Attach invoice as a PDF.
🖇️ Notes
Take a minute to review the specific fields and shortcuts available to you. A brief description of the key elements follows:
- Due Date – You can pick a specific date from the calendar or set default payment terms (e.g., "Net 30") in the More tab.
- Reference – This is an optional field, but it is the best place to put a client's Purchase Order (PO) number for their reference.
- Tax Rates – Ensure you select the appropriate tax rate for each specific line item, especially if you sell a mix of taxable and tax-free goods. For background, see our GST glossary and GST, VAT and Sales Tax guide.
- Send Options – When sending via email, you can choose to send a secure web link (default) or attach a physical PDF file depending on your client's preference.